Sunday, July 20, 2014

Itsy Bitsy Journal & Video Clip

This is one of the smallest journal I've ever made! It's 1" wide, 1.25" tall and about an 1" thick; it fits right in a tablespoon.
I started makiing the journal by tearing out a page from my Dylusions Creative Journal. The page already had some stenciling left on it, but it was still perfectly fine to use.
Using my steel ruler as a guide, I tore the page in strips vertically. I like the torn edge look so I didn't use scissors to cut my strips.
I tore each strip into 2" pieces and folded them in half. Then I took three pieces and created a small book, also known as a signature. Each signature makes 6 pages. I created four signatures, so my journal has 24 pages total.
Afterwards, I used some dental floss (free samples from the dentist) to bind the signatures together.
Then I used some graffers tape and taped it over the binding edge.
For the cover, I had some sample leather pieces that I glued around the signatures, and then I added some dyed seam binding on the edges to close the journal together.
Now the fun part: to color all the pages with some backgrounds colors.
I used Tim Holtz distress inks, Caran d'Ache Neocolor II crayons and a water brush to colored the pages.
I journaled, stamped, painted, stenciled and pasted in my itsy bitsy book.
Below is a flip through of my journal...

Have a great week!

Sunday, July 13, 2014

Beach Art

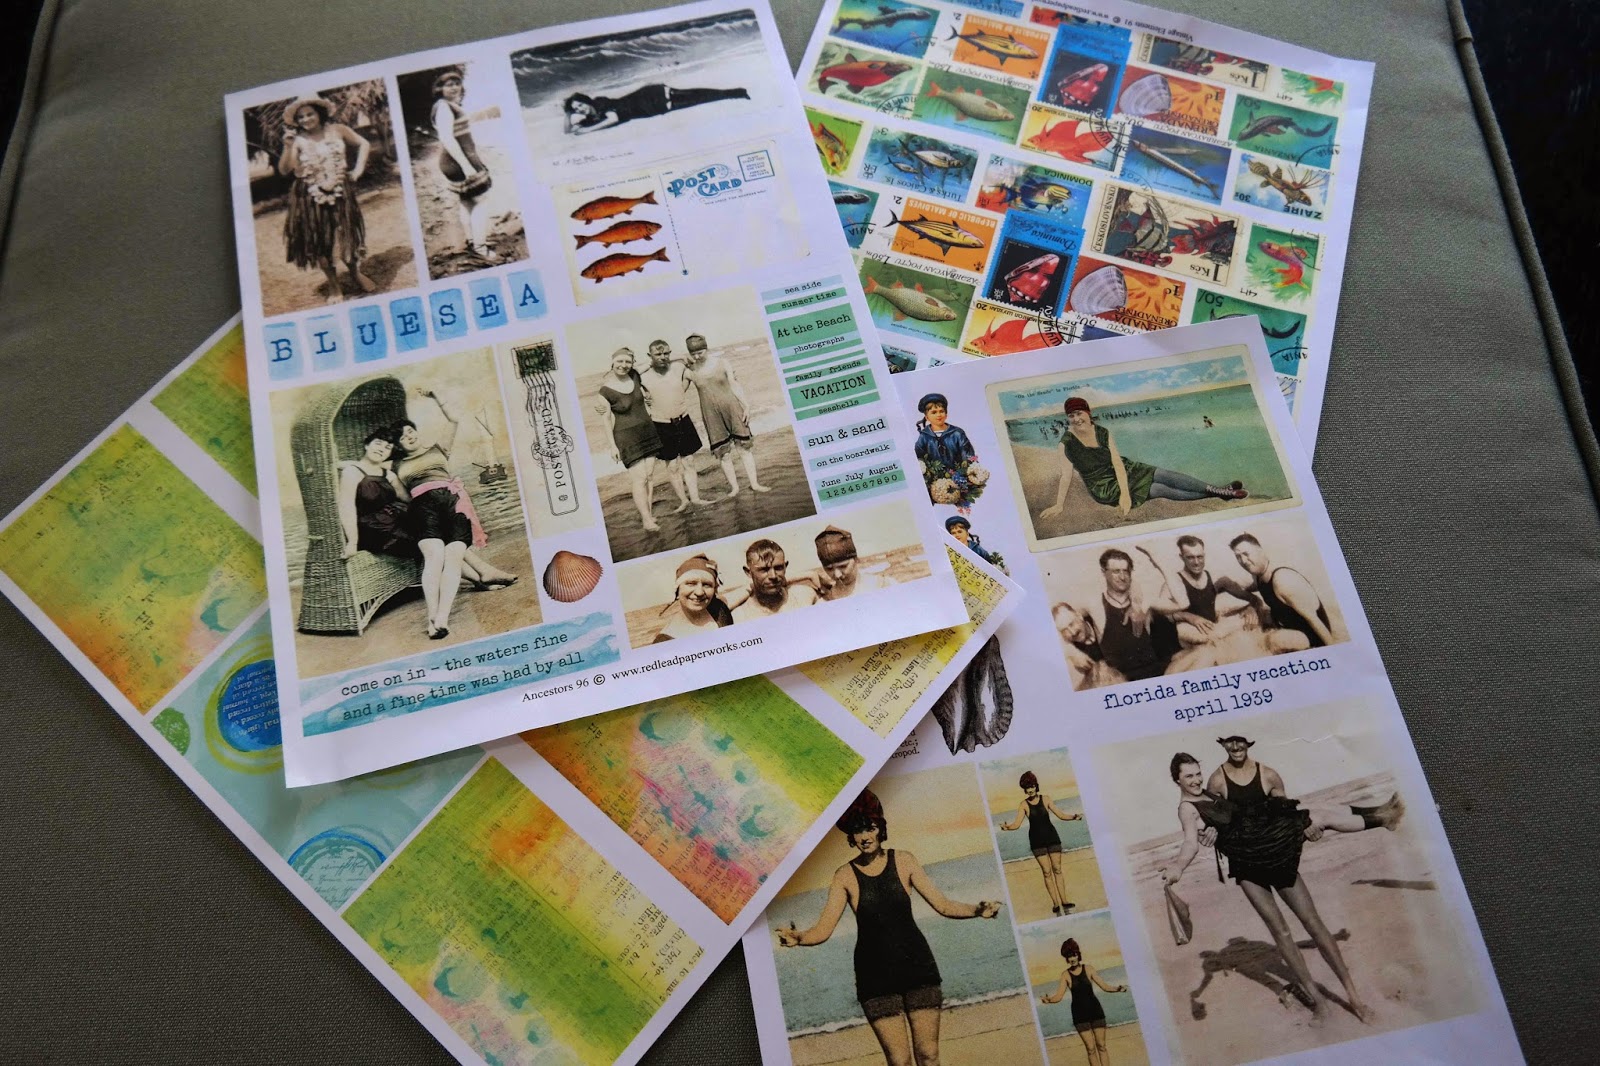
I was recently sent some beach themed art supplies from RedLead. I had fun thinking of new projects to do with these items and here's what I came up with.

I made four mini summer journals...
Front covers
Back covers
I created these journals by first working on the background paper.  Each journal uses one sheet of Canson Mixed Media 9" x 12" paper, this paper has a nice heavy weight. I used stencils, acrylic paint and a 6" gelli plate to create the backgrounds.
I added additional doodling, stamps and images onto the paper. As you might have noticed, I didn't bother to trim off the edge of the paper that had the holes from the spiral bound pad. I used a couple of the holes to thread my twine and used it to tie the book together. I folded each sheet in half length wise and then in half again to make a booklet.

For the inside pages, I took various sheets of paper, tags and folded them in half.  Using an awe, I punched three holes into the paper and the journal cover. Then I used a simple binding technique to add the pages to the journal.
Inside pages
I decorated some of the inside pages with banners and stamps.
Inside pages
Below is a picture of several ATC cards and a mini shadow box that I also made...
And the last piece I made was a message in a bottle...
Supplies from RedLead included the background paper, images, mermaid, sea horse, stamps, sea shells, blue glass, and stencils.

I hope you're having a great summer and that this post inspires you to make some summer art! Thanks to RedLead for letting me create for you...I had so much fun!

Sunday, July 6, 2014

Family Gathering & Granola Recipe

This weekend we had a fun family gathering hosted by my niece, Natalie, and her family in Novato. One of the best parts about getting together with the family are the potluck dishes. This was my daughter's contribution, spoon cookies:
They're so adorable, I just love them. My sister, Pat, bought these spoon molds for Rachel during one of her trips to Europe. In the future, she'll be posting how to make them on her YouTube channel, KawaiiSweetWorld.

Below are some photos of our 4th of July party.

 Of course we had to do some crafting...
We played with stencils and paint.

The dish I brought to the party was homemade granola. I've been on a granola kick lately and decided to try and make it myself. I found this recipe (via Alton Brown) that I really like and I love that I can personalize it by using only the ingredients that I like!
Here's the version of the granola I made.
Ingredients
3 cups oatmeal
1 cup whole almonds
1 cup chopped walnuts
1 cup chopped pecans
1/4 cup brown sugar
1/4 cup vegetable oil
1/4 cup maple syrup
1 teaspoon salt
2 tablespoons honey

Directions
Preheat oven to 250 F degrees.
Line 18" x 13" jelly roll pan with parchment paper.
Combine oatmeal, nuts and brown sugar in a large bowl and set aside.
Combine oil, syrup, salt and honey in a small bowl.
Toss the oatmeal mixture with the wet ingredients.
Spread out granola mixture onto the pan and bake for one hour. Every 15 minutes mix the granola so that it can evenly brown.
Let it completely cool before storing. The granola will turn crispy once cooled.
Enjoy! 

I hope you had a wonderful weekend!